Saturday, October 29, 2011
Godey's Images
I was just given a series of Godey's 1870 Fashion Plates from a friend. She and her sister had ordered them through the McCall's pattern company as teenagers, I refrained from asking the year - she has grown children. The Fahsion Plates recently resurfaced as she was cleaning and reorganizing, and she immediately thought of me, and that I would enjoy them. I love them and have plans to purchase better frames, the ones they were in did a good job of protecting them, but they're falling apart. Now I just need to decide where to hang them, my sewing room (short of wall space but I could make room), or my guest room (definitely history inspired but again a little short on wall space)? I am leaning toward hanging them in the guest room as I am in there frequently, and then any guests could enjoy them as well.
Monday, October 24, 2011
Fall is in the Air
There is a definite chill to the air today, and the sun is trying to peek through scudding clouds. I figured today was as good a day as any, and probably better than some since it's not raining, to get started on the clean up in the garden. This is the first year that the weeding isn't overwhelming, and there just isn't a whole lot that needs doing right now. I did a what little weeding there was in the front, trimmed back the lavender that I forgot about during the summer, and cut back the peonies. Then I had a few plants that needed transplanting, and a bit of yard waste to clean up and that was all. I thought I would post a picture of what I found blooming in my garden today. It's a hardy cylamen, it blooms in the fall and has beautiful heart shaped leaves through the summer. I was afraid that I had somehow inadvertently damaged the bulb before I got it planted, but everything is just fine. I can see a couple more sprouts just peeking from the soil. The bloom is tiny, only about the size of a nickle, but so pretty.
Tuesday, October 18, 2011
Ladies Wrappers
Here is my finished 1860's wrapper, made from the Kay Fig Ladies Wrapper pattern. Wrappers were quite a utilitarian garment in the 19th century, more so than our bathrobes today. Some were really only meant to be worn in the bedroom, some as a robe itself over a nightdress, but many more were designed as more of a housedress. They could be worn in the mornings, where the name morning dress comes from, to breakfast and around the house prior to making or receiving calls later in the afternoon. The back and bodice lining are fitted just like a dress of the period with only the front panel being lose and full, many times tied in with a sash, belt, or cord. They were worn over full underpinnings and could be left open to show off a prettily embroidered petticoat. Because of their design they were also beneficial for invalids or as maternity wear. As maternity wear, the full front panel becomes much more useful as it would expand with the growing baby, only the lining would have to be altered or left partially unfastened.
Many different fabrics were used for wrappers in the 19th century. Godeys and Petersons magazines show fashion plates with wrappers made of silks and satins and trimmed in lace. However, the most common were those made of a calico or soft wool, usually with wildly contrasting front panels, facings, and hem treatments. Several wrappers shown in the pattern were even lined with multiple cotton prints. When used for maternity wear, many looked very similar to the fashion dresses of the time. I certainly love my wrapper and it has already seen quite a bit of use around the house.
I loved working with the Kay Fig pattern as the instructions were very clear and easy to follow. The extra bits of history and photos of original garments were a plus as well. I will definitely use her patterns again as needed.
Many different fabrics were used for wrappers in the 19th century. Godeys and Petersons magazines show fashion plates with wrappers made of silks and satins and trimmed in lace. However, the most common were those made of a calico or soft wool, usually with wildly contrasting front panels, facings, and hem treatments. Several wrappers shown in the pattern were even lined with multiple cotton prints. When used for maternity wear, many looked very similar to the fashion dresses of the time. I certainly love my wrapper and it has already seen quite a bit of use around the house.
I loved working with the Kay Fig pattern as the instructions were very clear and easy to follow. The extra bits of history and photos of original garments were a plus as well. I will definitely use her patterns again as needed.
Friday, October 14, 2011
Needlebooks
I thought I would post a bit about Needlebooks as I now have a really cute one to share. Needlebooks, were and still are, a useful way to keep your needles handy without losing them to the floor, or the interior space of a pincushion. Historic needlebooks of the mid 19th century came in various sizes and shapes, some with embroidery, silk ribbons, beads etc. on the cover. There were needlebooks shaped like fish, sea shells, bellows, bells, shoes, bows, fruit, and almost anything you could concieve of. Some were shaped more like a traditional book decorated with ribbons. Inside the cover were leaves of wool to store the needles in. Wool was used as it wouldn't dull the tips and it would inhibit rusting. Some came with spaces to store a bodkin and or a stilleto, some with room for a small pair of scissors or loop for a thimble.
These first two are pictures of a needlebook that I received in a swap with a historic sewing group. Notice the shape of a shoe and how the thimble fits nicely into the top of the shoe. The sole of the shoe (or the bottom of the needlebook) also acts as a pin book. It is made with two pieces of pasteboard covered with fabric and sewn together around the outer edge with a bit of wool batting inside to cushion and protect the pins.
This next one is similar to the one that I sent out for the needlebook swap. It is made of cream colored wool with a black velvet band on the front and back cover. The little sachet on the front is silk stuffed with wool batting to act as a bit of a pin cushion while you're working. This one is taken from an antique in the collection of Anna Worden Bauersmith.
I am really finding these little books quite handy, and plan to keep one in most of my work spaces. Perhaps then I'll keep from losing the needles.
These first two are pictures of a needlebook that I received in a swap with a historic sewing group. Notice the shape of a shoe and how the thimble fits nicely into the top of the shoe. The sole of the shoe (or the bottom of the needlebook) also acts as a pin book. It is made with two pieces of pasteboard covered with fabric and sewn together around the outer edge with a bit of wool batting inside to cushion and protect the pins.
This next one is similar to the one that I sent out for the needlebook swap. It is made of cream colored wool with a black velvet band on the front and back cover. The little sachet on the front is silk stuffed with wool batting to act as a bit of a pin cushion while you're working. This one is taken from an antique in the collection of Anna Worden Bauersmith.
I am really finding these little books quite handy, and plan to keep one in most of my work spaces. Perhaps then I'll keep from losing the needles.
Tuesday, September 27, 2011
Ladies Chemise and Laundry Markings
I finished my new chemise and finally got around to also adding the laundry markings. This chemise was drafted from the directions on the Sewing Academy website (also available in the Dressmaker's Guide by Elizabeth Stuart Clark). It's made out of bleached muslin and embroidered on the lower right hem. This is by far the most comfortable of the three chemises I have - the others have fitting issues in the sleeves and around the neckline. I find that these make the most wonderful nighties, and have plans to make atleast one more from Simplicity 2890.
Laundry Markings were used as a way to differentiate one woman's laundry from another when being washed. This was an issue historically as undergarments were all white and the general styles varied very little from each other. They were usually worked in tiny cross stitches in either red or black in an inconspicuous spot. If a lady was part of a gentleman's household then her first initial was preceeded by his first initial and then followed by the first initial of the family name. So my laundry marking is Jonathan Angela Oehlert. Then would follow details of the fabric, such as Bleached Muslin, then perhaps the number of the garment (if you numbered your household linen), and finally the year as shown above. It wasn't difficult to work and I quite the looks of my marked laundry.
Saturday, September 24, 2011
Confederate Enlisted Frock Coat
Whew! I'm not sure what is wrong with Blogger this morning, but it has taken me nearly an hour to upload these two photos. Everything else on the computer seems to be just fine, the only problem is my connection with Blogger. Go figure.
So, here is the Confederate Enlisted Frock Coat that I finished for my brother last month. I am so pleased with how it came out, and more in how it fits. Ben loves it, and has planned to do the topstitching and buttonholes himself. It is made of a gray/tan jean wool with navy wool collar and cuffs. Lined with cotton and wool breast pads (shown in the bottom photo). Now that I have successfully finished Ben's I may be a little more inclined to tackle a Civilian Frock for hubby. However, I must complete pants, shirt, vest, and drawers first.
Thursday, September 1, 2011
Summer project pictures
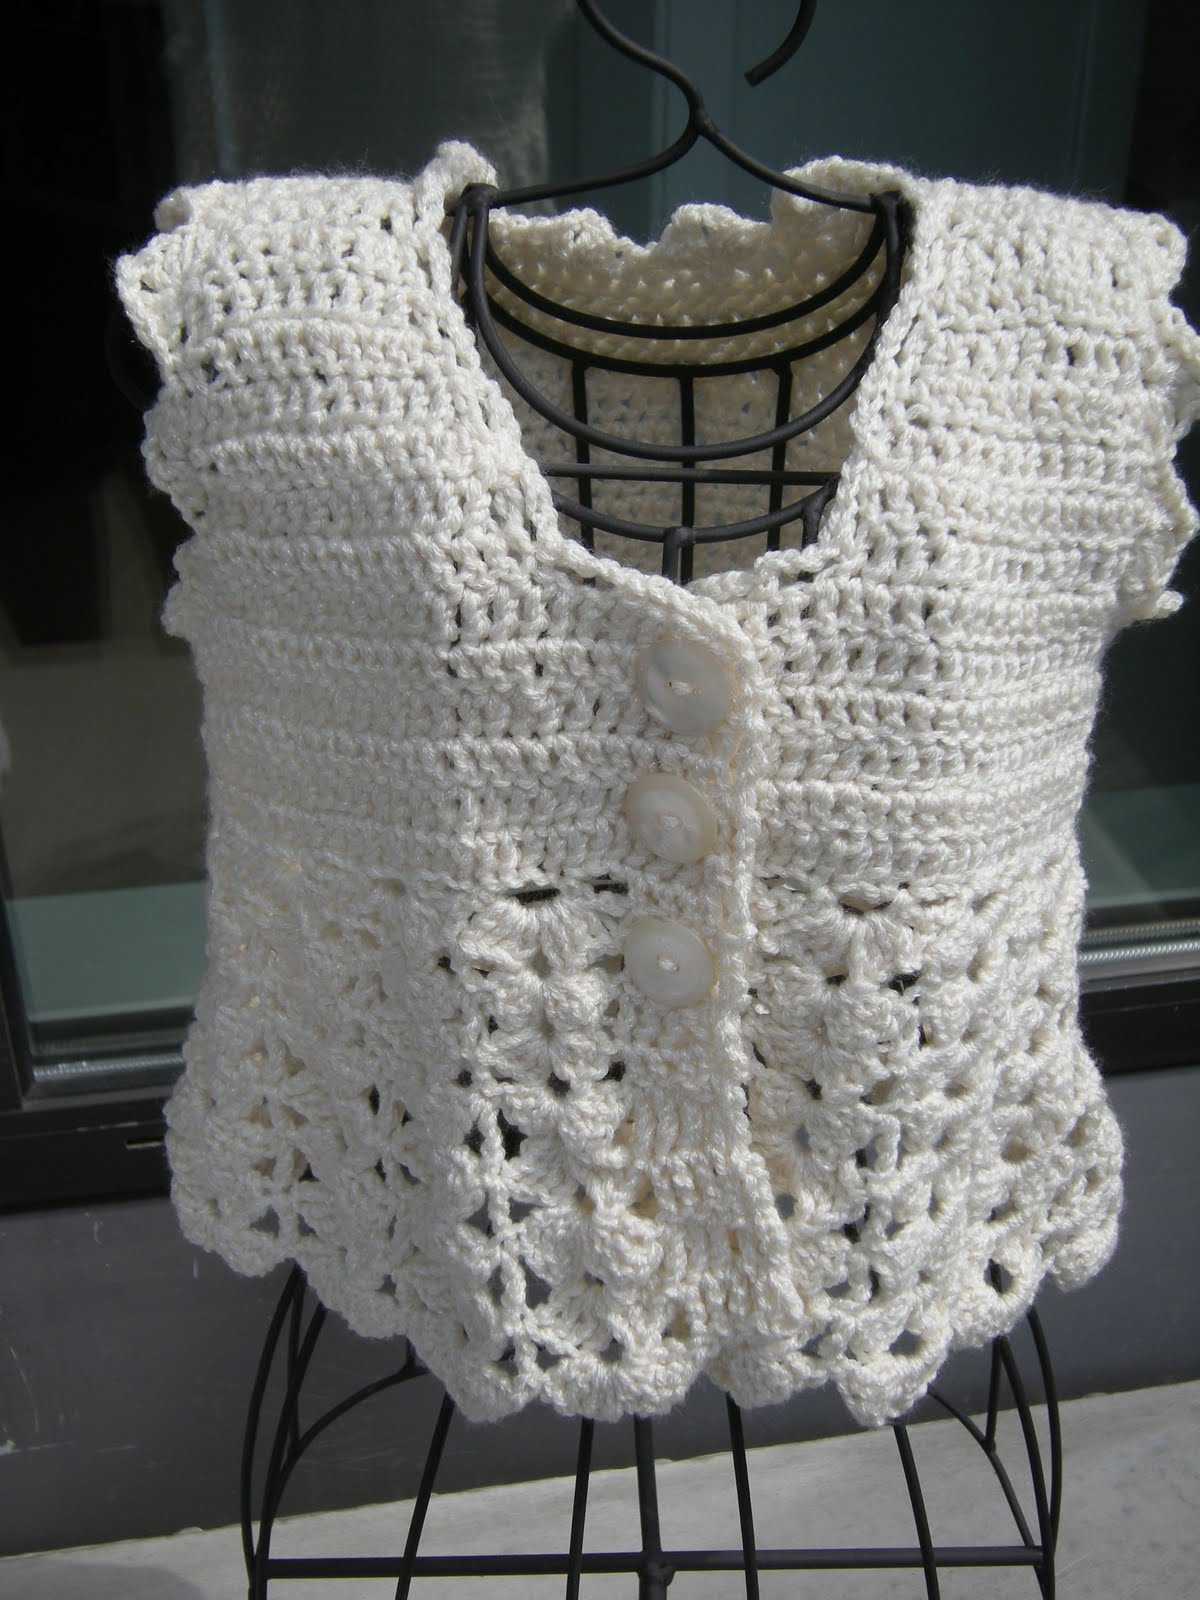
I finally sent the baby gifts through the mail to my sister and her girls, so now it's safe to show you all the pictures of what I have been working on.
The first two are for Elaine, a cotton sun hat and cotton top. I just love both of them and she's going to look absolutely darling!
These last little goodies are for new baby Tessa. I hope she's able to wear them all and that Mommy enjoys them! I certainly had fun knitting for two very special little girls.
More to come later of the summer projects that are now all finished.
Subscribe to:
Posts (Atom)